Showing posts with label day of the dead party. Show all posts

9.24.2013

Day of the Dead DIY #15: Pom-Pom Waste Bin

A waste bin is an essential part of any celebration, but we know it usually isn't the prettiest part of your party decor. So for DOD DIY #15, we're taking bright, fluffy pom-poms and using them to spruce up a normally ugly looking waste-bin for a DOD party or celebration and making it accessible and fun to look at for party guests (and for that subsequent party clean-up!).

What you'll need:
-pre-made pom-poms
or
-a few skeins of colorful yarn (we have pink, purple, yellow, sparkly etc...)
-scissors
-this tutorial for making pom-poms

What we did:

1. We created our own colorful pom-poms using different colored yarns.
2. We wrapped yarn around the handles of the waste bin.
3. Then we attached a tuft of pom-poms to each handle on the sides of the bin and attached a foam skull.

9.20.2013

Day of the Dead DIY #14: DOD Coasters

We've created cute DOD coasters for DIY #14, using some of our awesome Day of the Dead fabric, blank tiles, and some mod podge. Besides sprucing up a Day of the Dead dinner party or adding pops of color to your kitchen or coffee table, our DOD coasters make a great host/hostess gift when packaged nicely!

What you'll need:
-DOD fabric (buy it here)
-scissors
-mod podge
-paintbrush
-tiles (we bought them at Home Depot for about 51 cents)
-piece of plastic, wax paper, or ziplock bag (we used a ziplock bag)

What to do:

1. Cut out a rectangle from your DOD fabric–enough that it completely covers the front and back of your tile.
2. Apply a thin layer of mod podge to the top of the tile with your brush (no giant globs!) and the sides.
3. Place your fabric face down on your plastic or wax paper piece.
4. Place the mod podged tile face down on the fabric.
5. Mod podge the back and begin wrapping the sides of the fabric around the tile (wrap the tile as though it were a gift you were wrapping with paper).
6. Lift your tile gently off of the plastic to check if it's dry. If not, leave the tile face down on the plastic again and wait about 10-15 minutes. The entire tile, back and front, should take about 30-40 minutes to dry.

9.18.2013

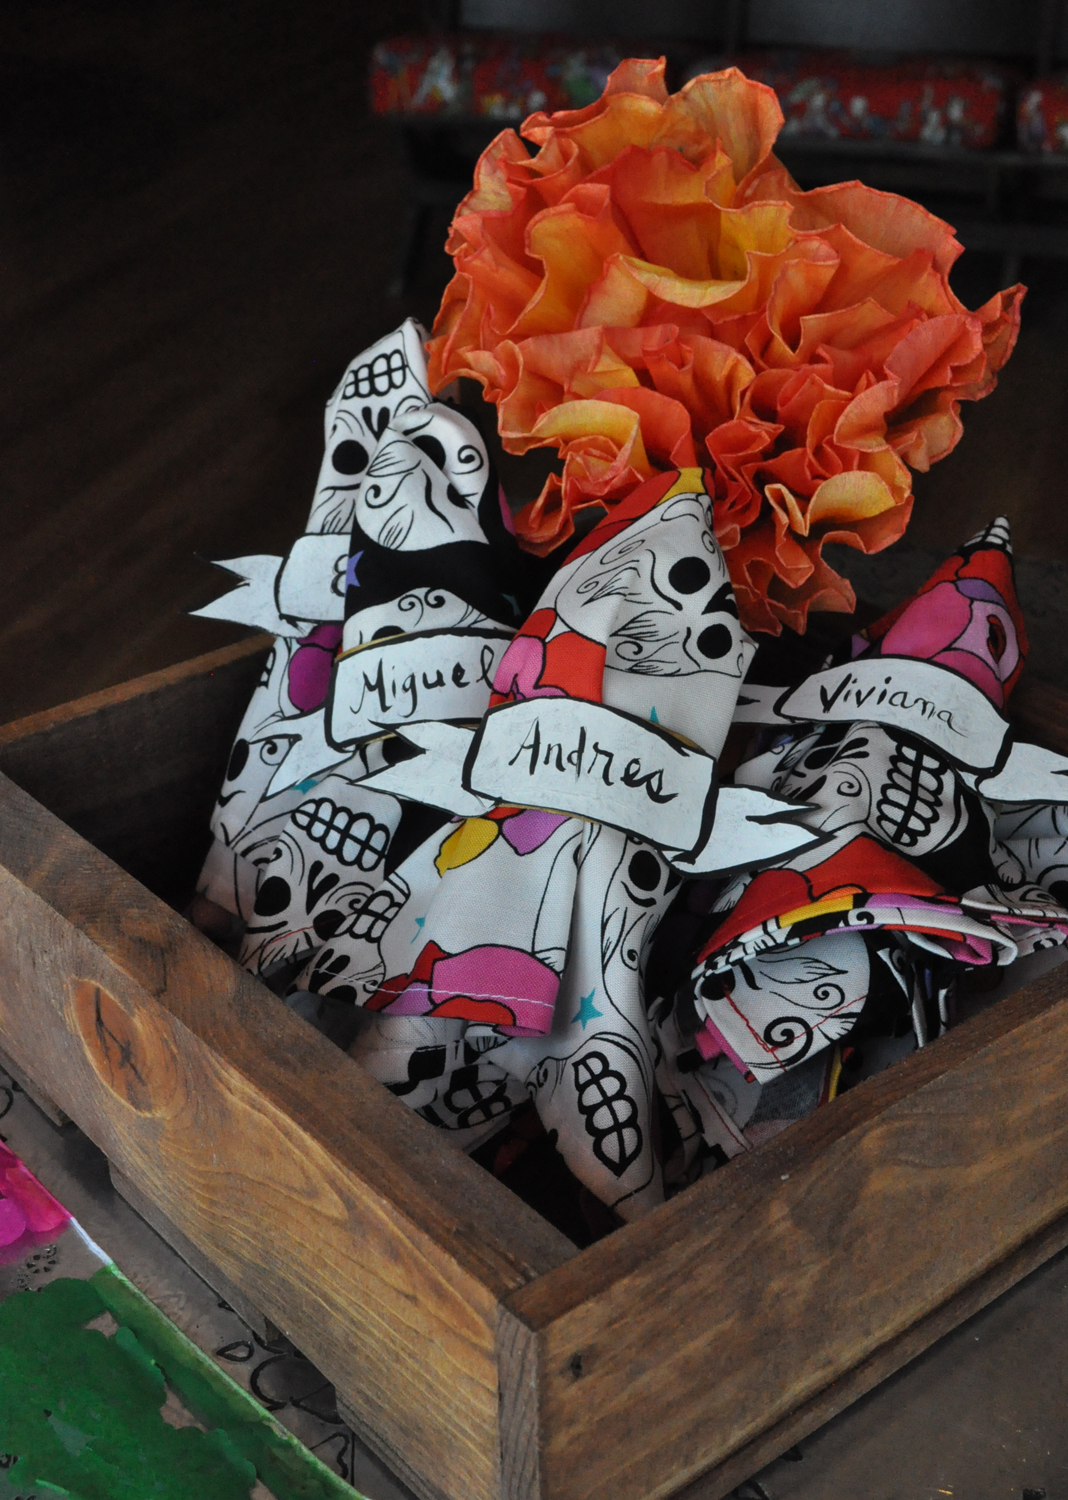
Day of the Dead DIY #12: DOD Napkin Rings/Place Cards

With Day of the Dead a little over a month away, there are sure to be many Day of the Dead themed parties and celebrations. That means there's lot of party decorating to be done, and we've made festive napkin rings/place cards to compliment any Day of the Dead tabletop decor!
What you'll need:

-napkins (available in store)
-glue 
-toilet paper rolls
-metallic gold or silver paint
-paintbrushes
-paper bags

What to do:

1. Cut approx. 1" rings from your toilet paper roll.
2. Paint the rings with your metallic gold or silver paint.
3. Draw your "ribbon" shapes onto paper bags and paint them (as shown).
4. Cut them out of the paper bag.
5. Glue them onto your painted rings.
6. Stick em' on to your Day of the Dead Napkins and set the table!